Submit your app
Sharing an app is a pull request: you propose adding your app folder to the shared catalog, the Glance team reviews it, and once it's merged your app is live. You don't have to do any of that by hand, Glance Dev Studio does it in one button.
Publishing needs write access to GitHub. Cloning the repo never asked for this (it's public), so on a brand-new machine nothing is signed in yet, and the first publish will fail until you sign in once:
- macOS / Linux: the easiest way is the GitHub CLI:
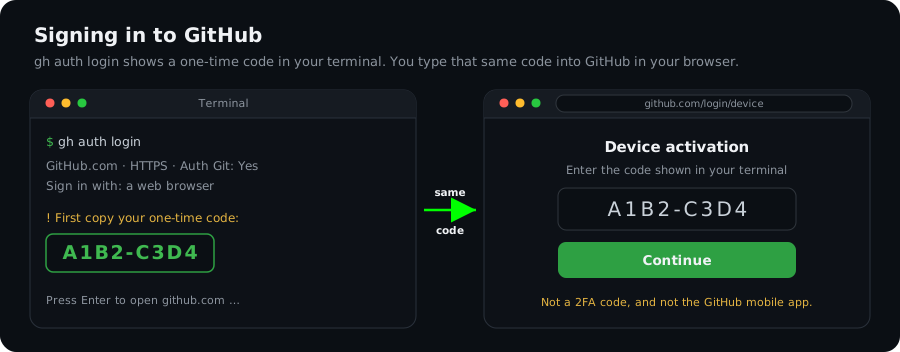
Choose GitHub.com → HTTPS → Authenticate Git: Yes → Login with a web browser. Heads-up:brew install gh # if you don't have it (cli.github.com)gh auth login
ghprints a one-time code in your terminal (likeA1B2-C3D4), then opens GitHub asking you to enter it. It's the code in your terminal, not a 2FA code or anything from the GitHub mobile app, copy it before you switch to the browser. - Windows: you can skip this. The first publish pops up a GitHub sign-in window
automatically (Git Credential Manager); running
git pushonce does the same.
You don't need to set git config user.name / user.email, Studio stamps the commit
author from your GitHub login for you (you'd only need those to commit by hand).
The one-button way
Open your app in Glance Dev Studio and click Validate & Submit.

Studio first checks your app renders cleanly, then shows you exactly what it's about to do on your behalf. Tick the box and click Publish:
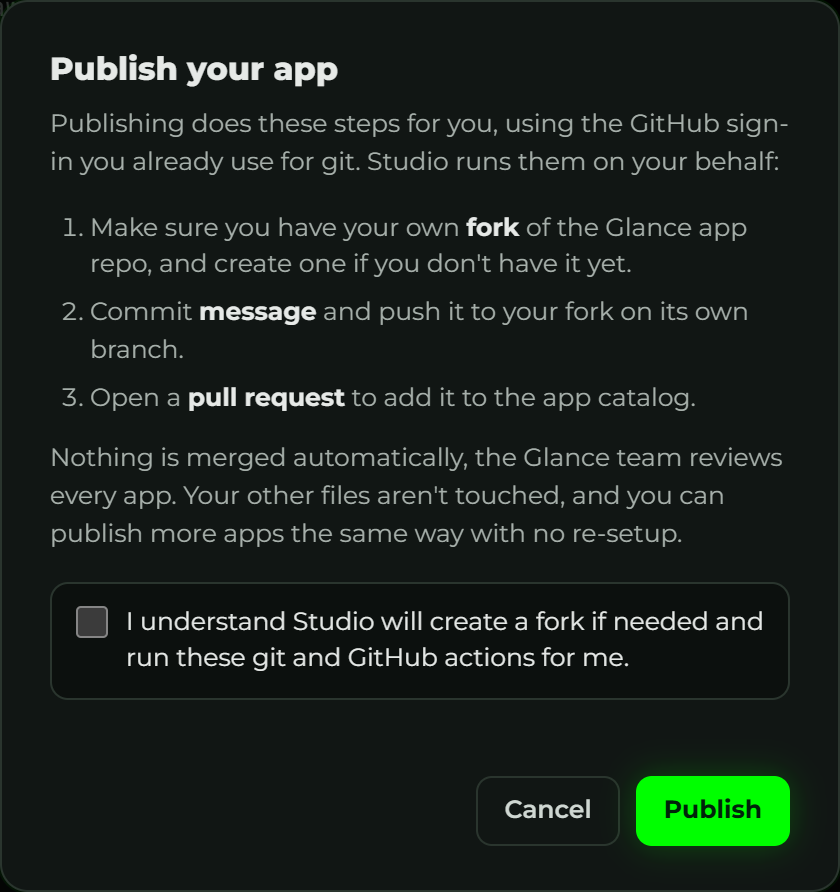
That one click:
- Makes sure you have your own fork of the app repo, and creates one for you if you don't have it yet.
- Commits your app and pushes it to your fork on its own branch.
- Opens a pull request to add it to the catalog.
It also renders your app's preview images (a PNG of each page, plus a preview.png
thumbnail) into a preview/ folder, so they ship with your app and show in the catalog.
A fork is simply your own copy of the app catalog on your GitHub account, the place your app gets pushed from. You never have to create it by hand or even know what it is: Studio makes it for you the first time you publish, and reuses it after that.
The first time, git asks you to sign in to GitHub through your normal credential manager
(the same sign-in as any git push), so there's nothing extra to install and no token to
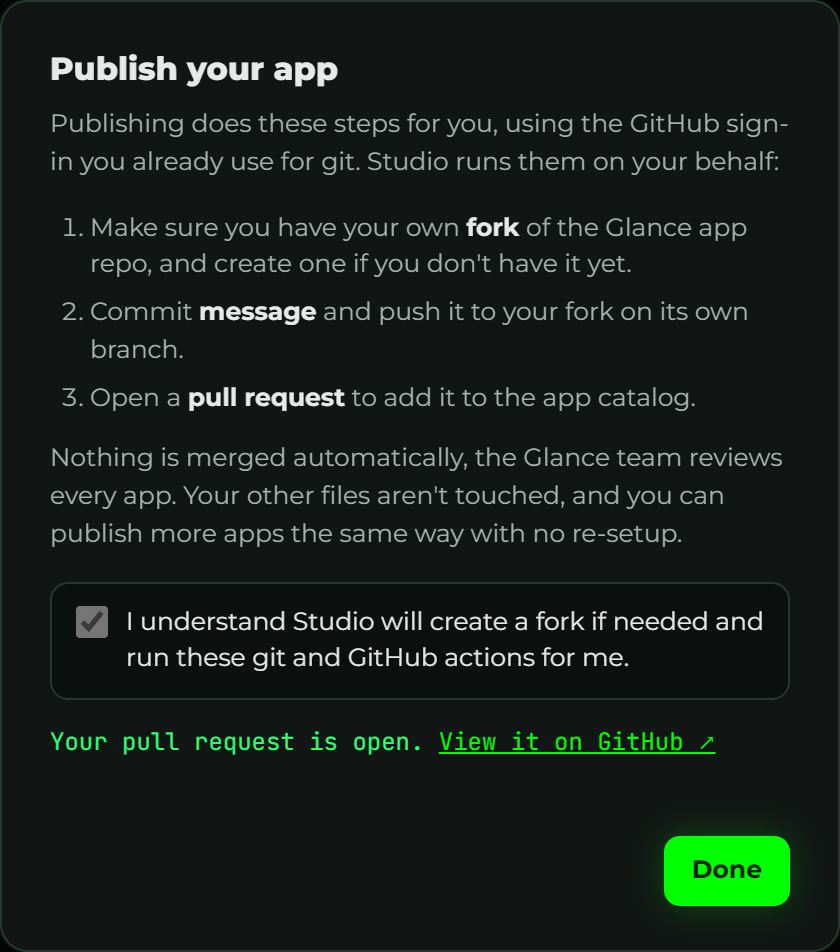
paste. When it's done, your pull request is open and Studio links you straight to it:
The first time you publish, a GitHub sign-in window opens in your browser. That's expected, it's how git proves it's you. Complete it once and it's remembered, so you won't be asked again for a while.
- If a publish seems to hang or "stick", it's almost always waiting on that sign-in window. Find it (check your taskbar or other browser tabs) and finish it, and publishing continues on its own. If you were never signed in (see the note above), Studio tells you right away instead of waiting.
- GitHub occasionally asks you to sign in again later (credentials expire). Same window, same one click, no reason to worry.
That window comes from Git itself (its credential manager), not from Glance Dev Studio. Studio never sees, stores, or sends your GitHub password or token, git handles the sign-in and keeps it in your operating system's own secure credential store, on your machine. Glance has no access to it, and you never paste a token or type a git command.
A pull request is a request to add your app, you don't merge it yourself. CI runs
gdn validate on it automatically; once it's green and reviewed, the Glance team merges
it and it goes live in the catalog.
Publishing more apps
You never have to re-pull or re-set-up between apps. Each time you click Validate & Submit, Studio builds a fresh branch off the latest catalog and puts just that one app on it, so every app becomes its own independent pull request:
- Your first app goes out as
submit-<app-a>(pull request #1). - Your next app is based on the current catalog as
submit-<app-b>(pull request #2).
Studio does this in an isolated workspace, so publishing never touches the files you're working on. Make an app, publish it, make another, publish it, that's the whole loop.
Prefer the terminal?
The same flow is one command:
gdn submit apps/my-app
It validates, asks you to confirm, then creates your fork (if needed), pushes, and opens
the pull request, just like the button. Add -y to skip the confirmation.
Doing it fully by hand with git
If you'd rather run the git yourself: fork the repo on GitHub, clone your fork, then:
git checkout -b my-app
git add apps/my-app
git commit -m "Add my-app"
git push -u origin my-app
GitHub prints a link to open the pull request. This is exactly what Studio automates.
Submission checklist
gdn validate apps/my-apppasses (Studio's Validate button runs the same check)- No secrets or API keys committed
- All images in the app's
assets/folder and declared underassets: - A
preview/folder with a render of each page (Validate and Submit generate it for you) - A clear
name,description, andauthorin the manifest
See Guidelines for the complete list of requirements.
Private apps
You can also keep an app to yourself or your organization.