Glance Dev Studio
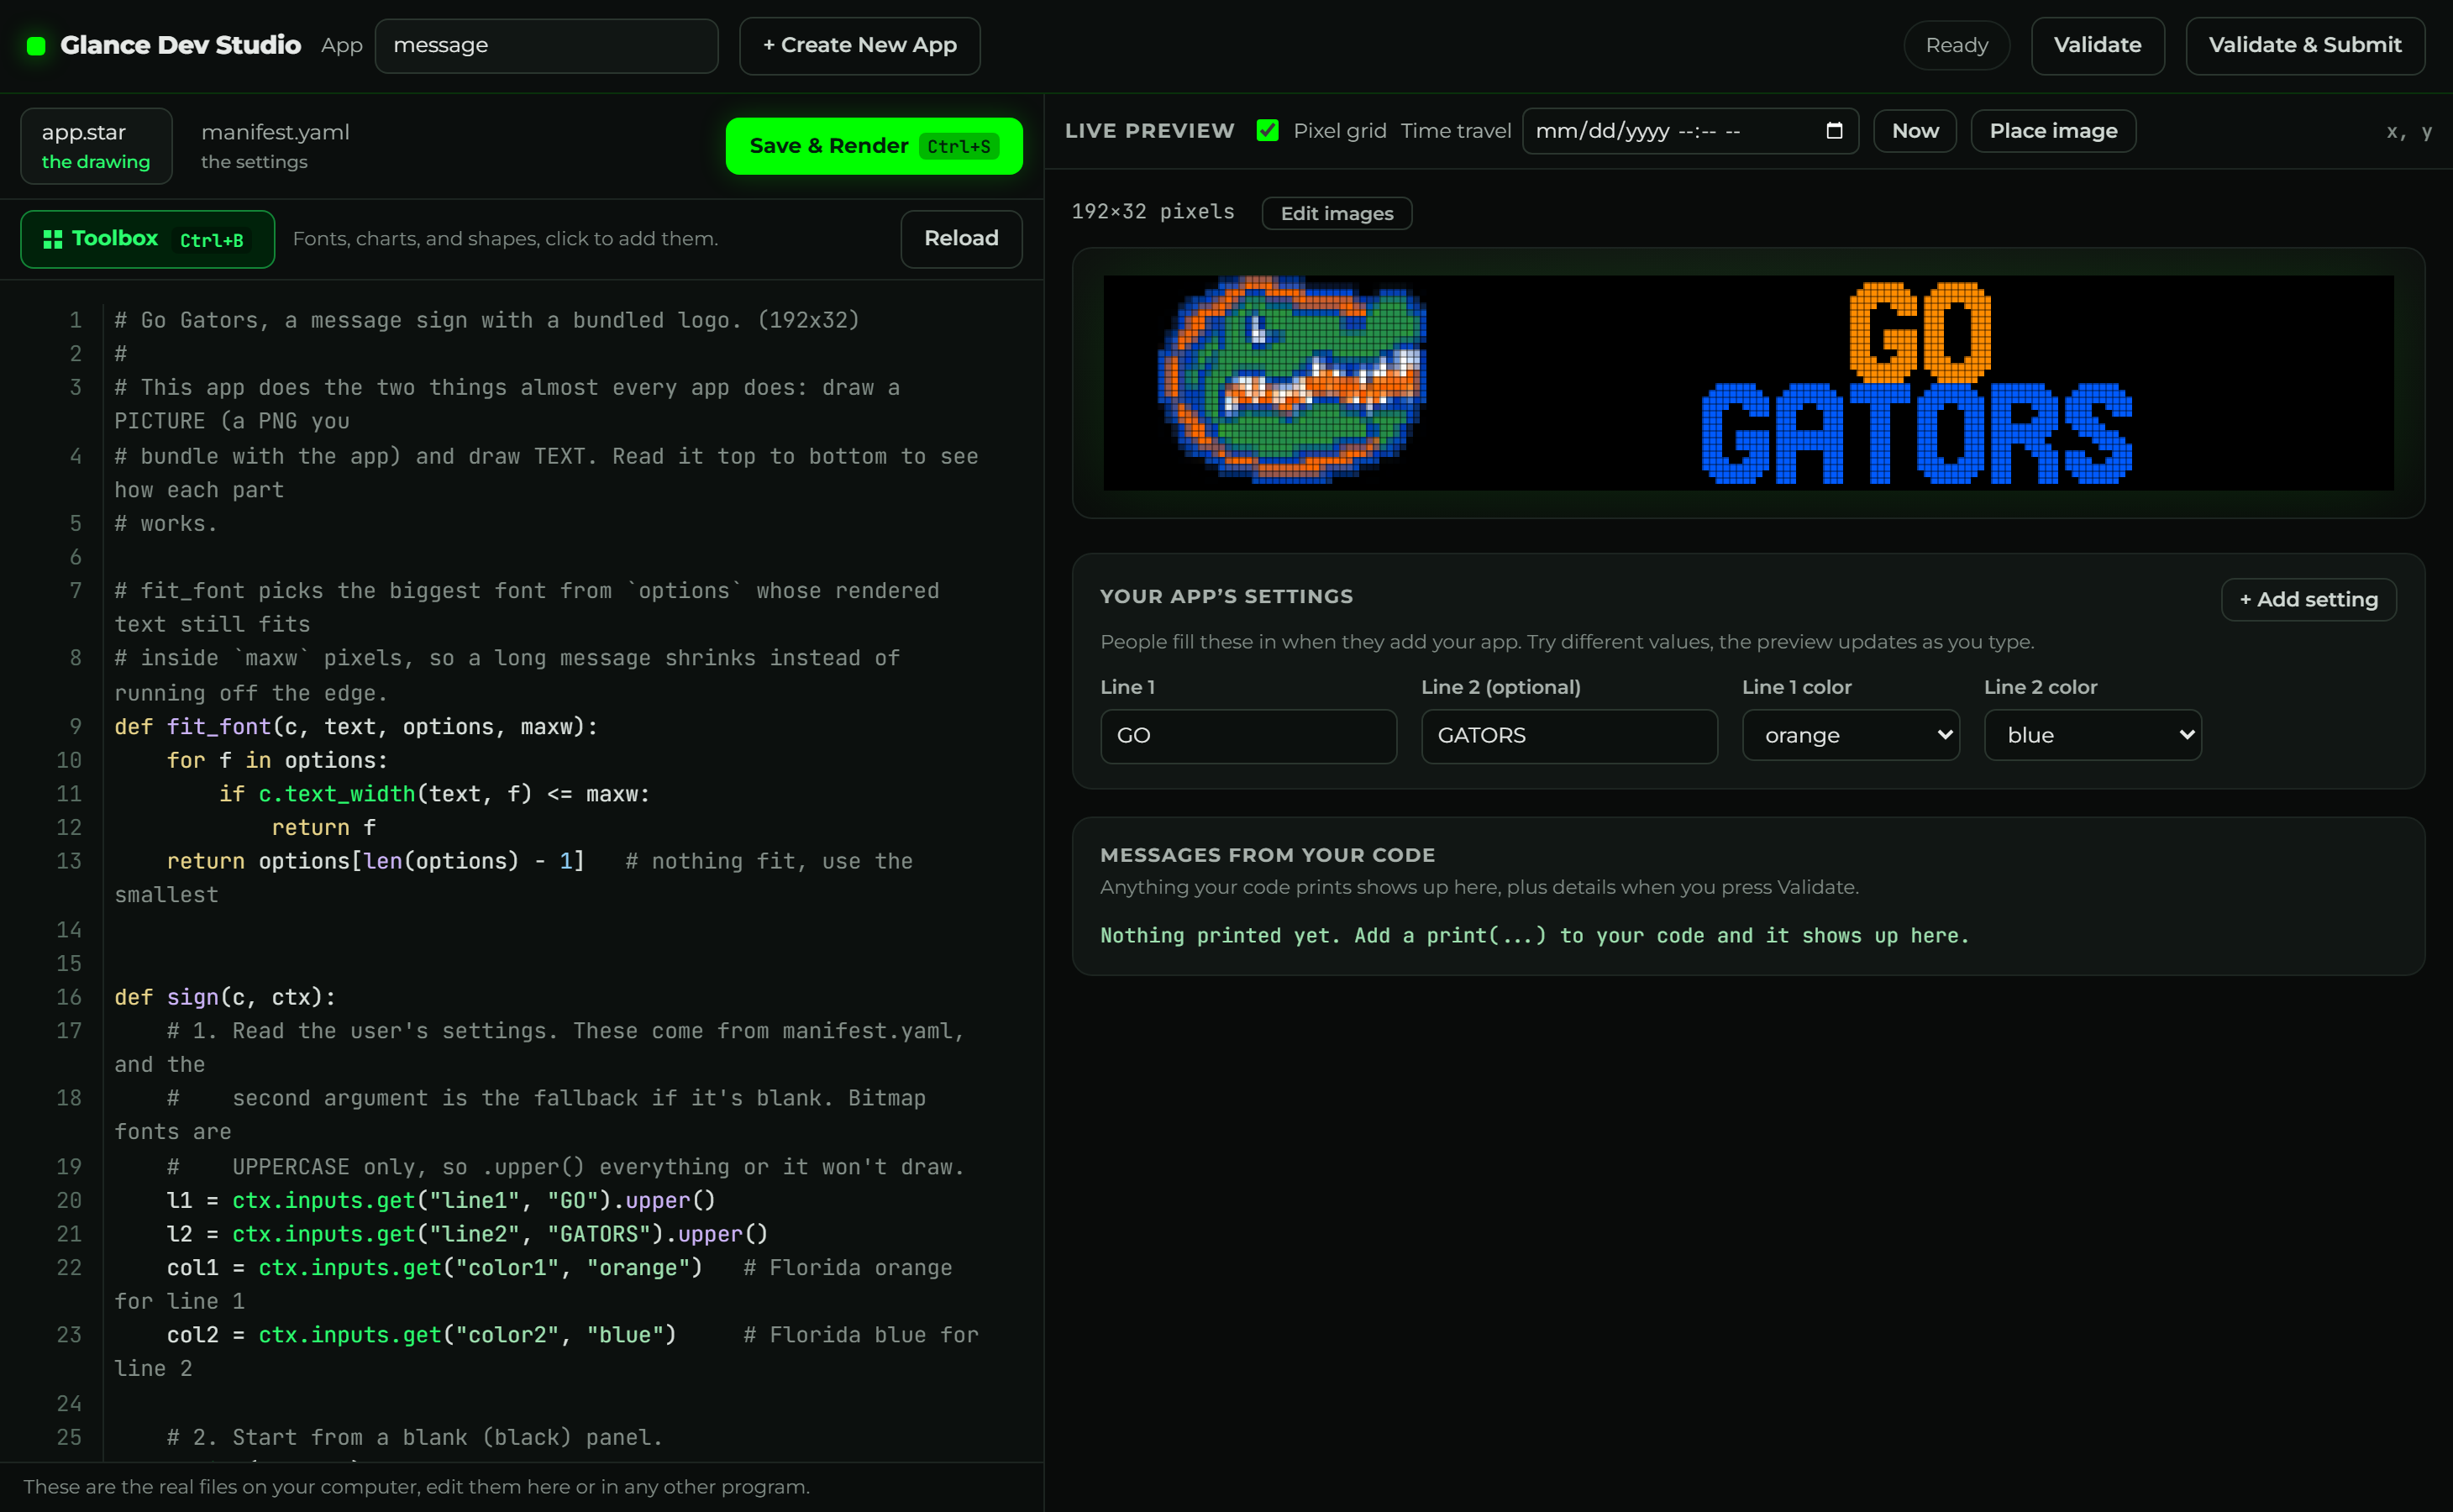
Glance Dev Studio is a single place to build a Glance app. It runs on your own computer, opens in your web browser, and puts everything in one place: make a new app, edit it, watch the LED panel update live, fill in the settings, and check that it's ready, all on one screen. After you launch it, you never have to touch the terminal again.
Opening Glance Dev Studio
Studio opens in your web browser at http://localhost:8766. There are two ways to
start it. Pick whichever is easier for you.
Shortcut To Opening the Glance Dev Studio
In the project folder (the one you cloned, the one with an apps/ folder in it) there's
a launcher for your system. Double-click it and your browser opens Studio, no terminal
and no commands to remember:
- Windows:
studio.bat - macOS:
studio.command - Linux:
studio.sh(or run./studio.shin a terminal, since some Linux file managers won't run a script on a double-click)
A small window opens and your browser loads Studio. When you're done, close that window to stop Studio.
The first time, macOS may block the file because it came from the internet. Right-click
studio.command, choose Open, then Open again. After that a normal double-click
works.
Opening Glance Dev Studio from the Terminal
From the project folder, run:
gdn studio
Your browser opens on the welcome screen (below). You don't need to name an app. To skip the welcome screen and jump straight into one, add its folder:
gdn studio apps/world-clock
Open your terminal in the folder you cloned, the one that contains apps/, not inside
the gdn folder. If you ever see an error mentioning an "attempted relative import", it
just means an old python studio.py was typed by hand. Use gdn studio or the
double-click launcher instead and it will work.
The welcome screen
When you start Studio without naming an app, it opens here rather than dropping you into one of your apps:
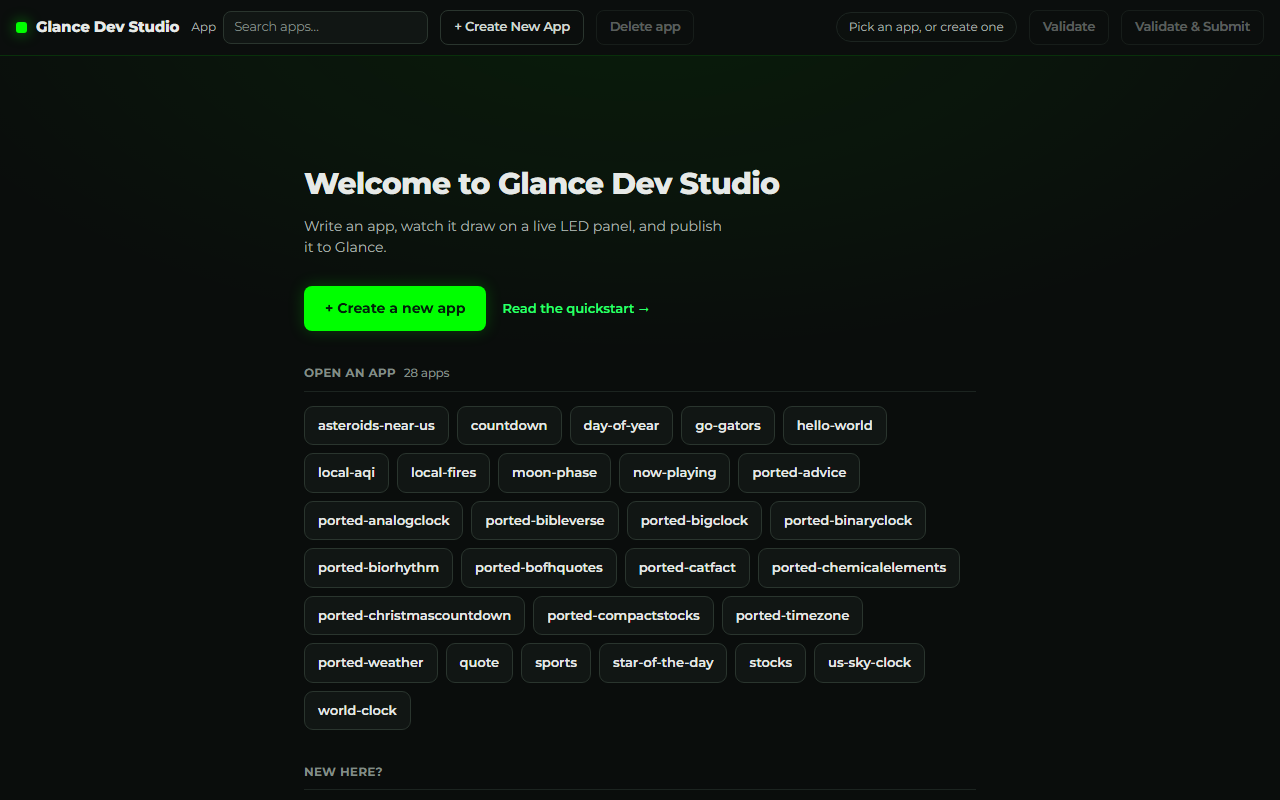
- Create a new app starts a fresh one from a working template (see Create a new app).
- Open an app lists every app in your
apps/folder. The one you had open last is tagged, so picking up where you left off is one click. The search box in the toolbar filters the same list. - New here? links into these docs: the quickstart, your first app, and the drawing API.
Once you pick an app you get the editor, and the app you're in is named in the browser
tab. Launching with a folder (gdn studio apps/world-clock) or a link
(localhost:8766/?app=world-clock) goes straight there and skips this screen.
The whole screen, labeled
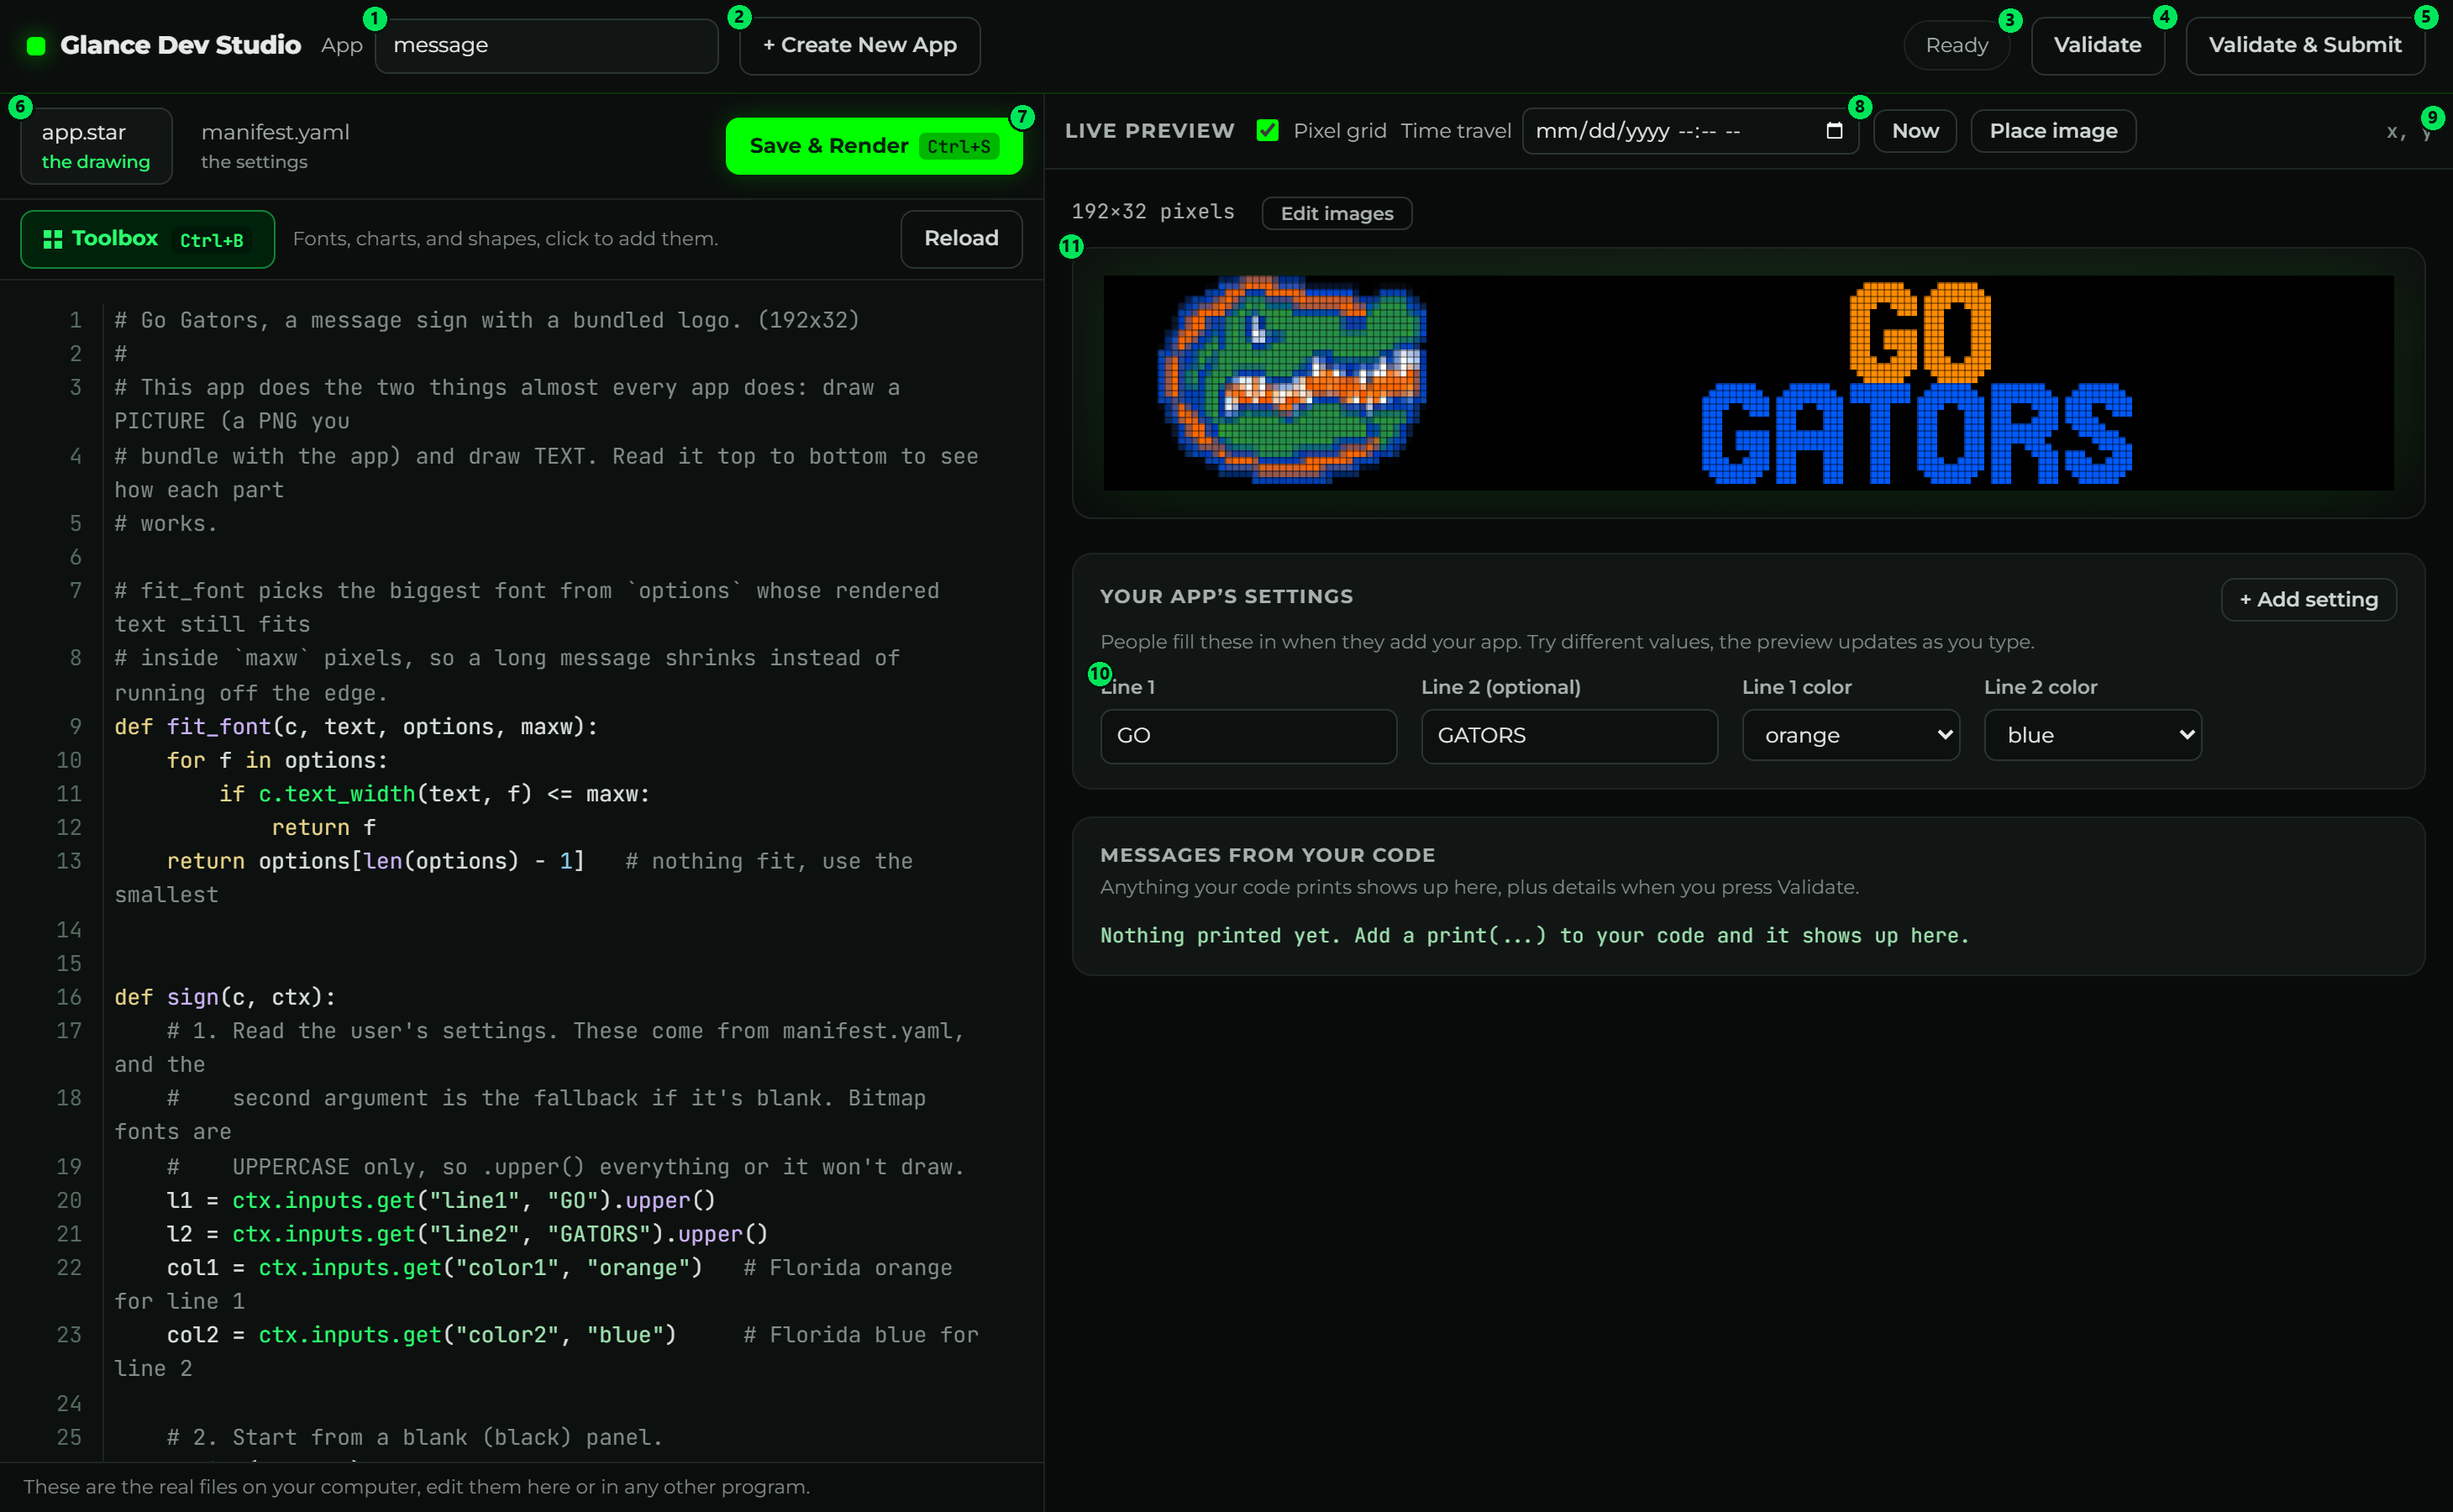
- Switch apps. Pick any app in your
apps/folder from this menu. - Create New App. Start a brand-new app from a working example.
- Status. Says Ready, or turns green/red when you check your app.
- Validate. Checks that your app works and is ready to share.
- Validate & Submit. Checks it, then opens a pull request to publish it (see Check & publish).
- The two files. Tabs for
app.star(the drawing) andmanifest.yaml(the settings). - Save & Render. Save your changes and update the preview (or press Ctrl/Cmd+S).
- Toolbox. Browse every font, chart, and shape with a live preview, and click to drop the code in (or press Ctrl+B). See Toolbox.
- Autocomplete. Suggests helpers, fonts, colors, and your own settings as you type. Untick it any time.
- Pixel art. Paint on a grid and Studio writes the
c.bitmap/c.spritecode for you. - Time travel. Set any date and time to test how your app looks then (the Now button jumps back to the present). The Pixel grid toggle draws a faint line around every pixel.
- Place image. Drop a PNG on the panel and drag it into position; the
c.image(...)code follows. - Save PNG. Download the panel as a crisp image, handy for sharing a preview.
- Live panel. Exactly what your LED sign will show, every page, pixel for pixel. Hover it and the readout (top-right) shows the exact pixel under your mouse.
- Add page. Add another screen your app cycles through. Studio adds it to
manifest.yamland writes the matchingdefinapp.starin one step. See Pages. - Your app's settings. The inputs people fill in; the preview updates as you type.
Also on the toolbar: Delete app removes the current app's whole folder after a confirmation (you tick a box, then confirm). And a small Debug button in the bottom-right corner keeps a log of any failed requests, with a Copy log button, so if something goes wrong you have the exact details to report.
The pages in this guide
- Create a new app: the New App button, and what to do if a file is missing.
- Write your code: the two files, and Save & Render.
- Toolbox: browse fonts and drawing helpers with live previews, click to drop the code in.
- See it live: the panel, the settings, and time travel.
- Check it and publish: Validate, the message console, and Validate & Submit.
Studio works well with an assistant. See Build with AI: have the AI write the app, then open it here to see it live and tweak it.